Choosing the right print size sounds straightforward — until you open the file, squint at a pixel count, and realise you have absolutely no idea whether it will look crisp above the sofa or like a blurry postage stamp blown up six times its natural size. You're not alone. It's one of the most common questions people ask before committing to a digital download.
This guide walks you through everything: how to match dimensions to your wall, what DPI actually means in real life, and why the resolution of the file you download matters far more than most listings tell you. By the end, you'll know exactly what size to print wall art — and you'll never second-guess a pixel count again.
Why Wall Dimensions Come First (Before You Think About Resolution)
Before you open any file or speak to a print shop, stand in front of your wall and measure. This sounds obvious, but most people skip it and work backwards from the file — which is the wrong order entirely. For wall art for living room spaces, the golden rule is that the print should occupy roughly 57–75 % of the width of the furniture beneath it. So if your sofa is 200 cm wide, you're looking for a print (or a grouping of prints) somewhere between 114 cm and 150 cm across.
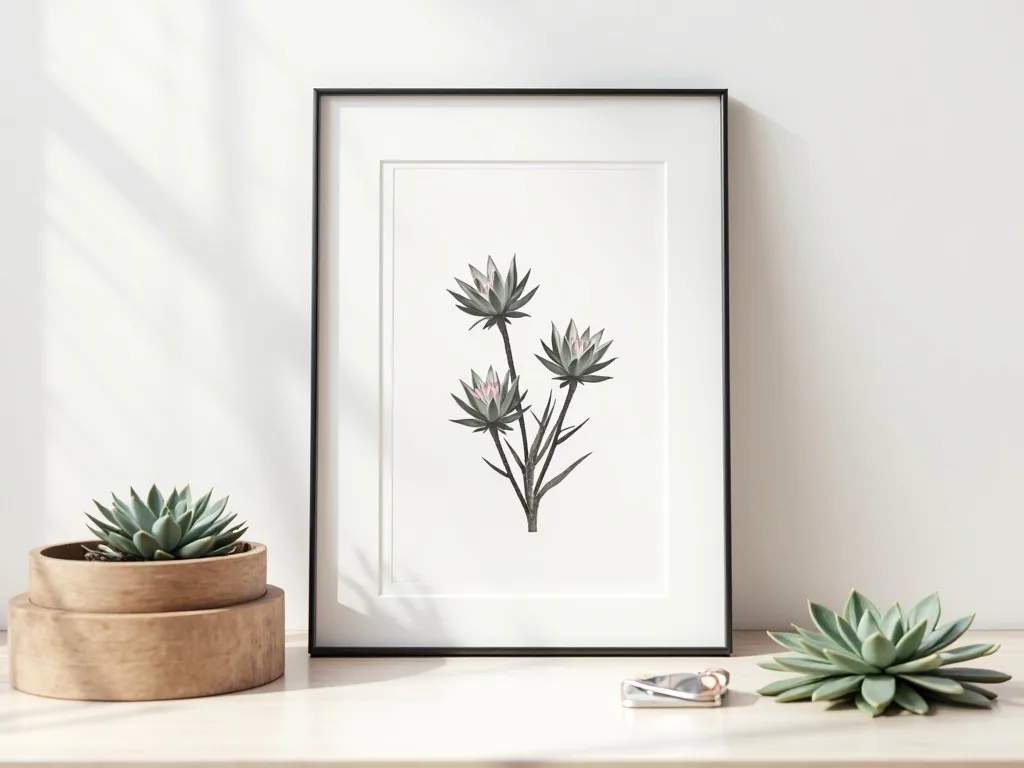
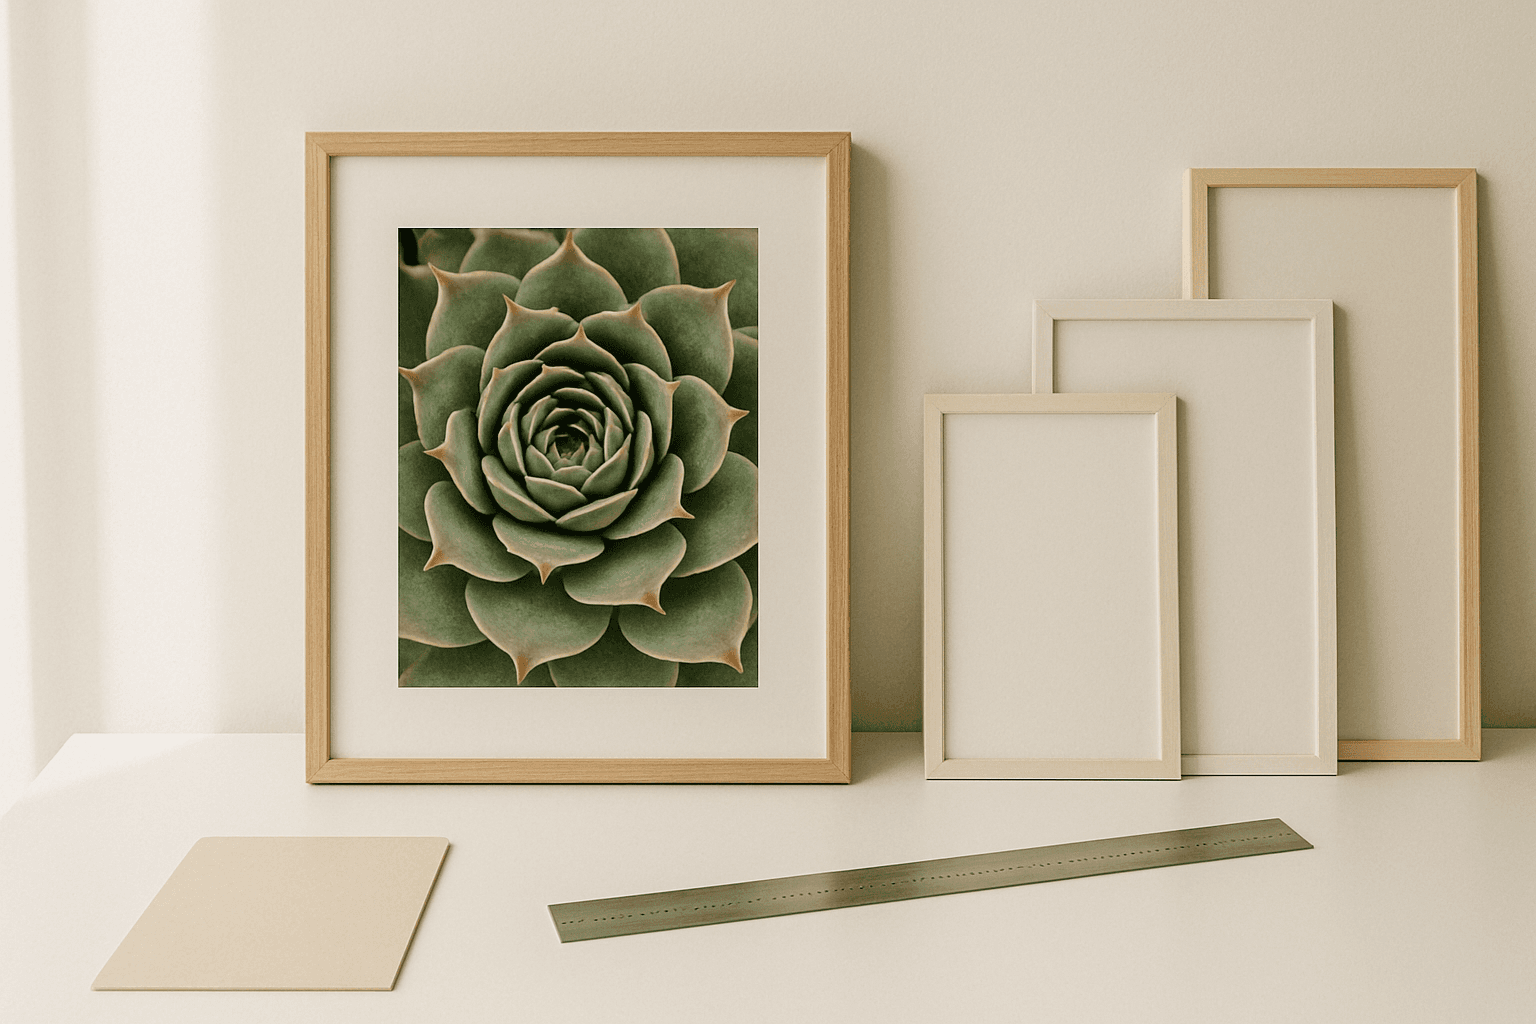
For a single statement botanical print above a console or sideboard, 50 × 70 cm is the classic European poster size and works beautifully in most rooms. For a gallery wall, a mix of 30 × 40 cm and 21 × 30 cm (A4) frames gives rhythm without chaos. Write your target dimensions down before you do anything else — they'll tell you exactly what resolution you need from the file.
DPI Explained Without the Jargon
DPI stands for dots per inch — it describes how many printed dots of ink are packed into every 2.54 cm of paper. The higher the DPI, the sharper the result. For wall art there are really only two numbers worth knowing: 150 DPI and 300 DPI.
300 DPI is the professional standard. At this density, individual ink dots are invisible to the naked eye at normal viewing distance, and fine details — the delicate folds of a succulent rosette, the subtle gradations of colour in a pale botanical print — are rendered faithfully. If you're printing up to 50 × 70 cm, always aim for 300 DPI.
150 DPI is the pragmatic choice for large-format prints (think 70 × 100 cm or bigger) viewed from a metre or more away. At that distance your eye naturally blends detail, so 150 DPI delivers a clean, gallery-quality result without requiring an enormous file size. Most professional print labs openly confirm this.
The key insight: DPI is not a fixed property of the file — it's the relationship between pixel dimensions and physical output size. A file that is 5906 × 8268 pixels gives you 300 DPI at 50 × 70 cm, or 150 DPI at 100 × 140 cm. Same file, different output size, different effective resolution.
How to Check Whether a File Is Large Enough
The arithmetic is simple. Multiply your target print width in cm by your target DPI, then divide by 2.54 to get the minimum pixel width you need.
For a 50 × 70 cm print at 300 DPI: 50 × 300 ÷ 2.54 = 5906 pixels wide. For the same print at 150 DPI: 50 × 150 ÷ 2.54 = 2953 pixels. If the file you've downloaded has at least these pixel dimensions, you're safe. Every botanical print in the Flora Digital collection lists its pixel dimensions on the product page — check them before you send anything to the print lab.
One practical tip: open the file in any image viewer, check 'Image Info' or 'Properties', and look at the pixel dimensions. Don't trust the DPI metadata baked into the file — print software sometimes overrides it. Pixels are the ground truth.
Choosing Sizes for Specific Rooms
Different rooms have different rhythms, and the right size for wall art for living room walls rarely works unchanged in a narrow hallway or a compact home office.
- Living room feature wall: 50 × 70 cm or 70 × 100 cm as a single large botanical print creates presence without crowding. Pair with a simple white or natural-oak frame.
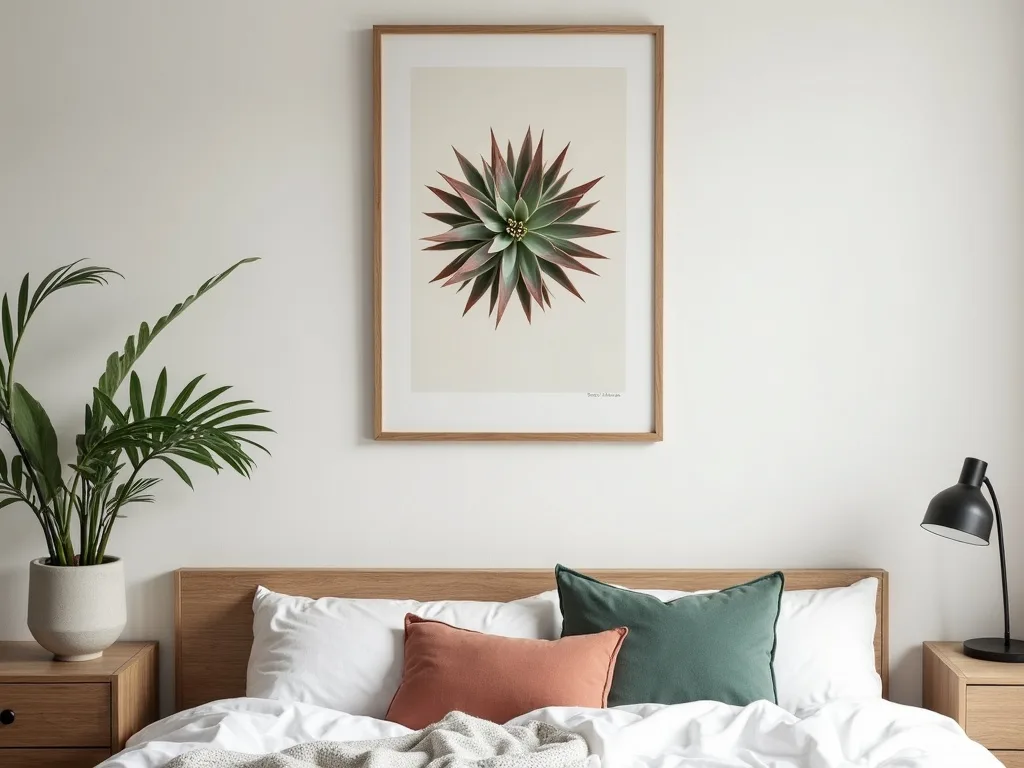
- Bedroom above the headboard: Two matching 30 × 40 cm prints side by side feel balanced and calm — ideal for the soft, organic lines of a Sempervivum design.
- Home office or study: A single 21 × 30 cm (A4) or 30 × 40 cm print keeps the wall purposeful without distraction.
- Hallway: Long and narrow spaces love vertically oriented prints. A 40 × 50 cm or 50 × 70 cm portrait-format piece draws the eye forward naturally.
When in doubt, cut paper to your intended size and tape it to the wall for a day. It's the oldest trick in interior design and still the most reliable.
From Download to Print Shop in Three Steps
Once you've settled on a size and confirmed the file has enough pixels, the process is genuinely straightforward. Download the file to your device, note the pixel dimensions, and then either send it to a local print lab (Onlineprinters, CEWE, and most high-street photo labs across Europe all accept high-resolution JPEGs) or print at home on a wide-format inkjet if you have one. Ask for fine-art matte paper or satin photo paper — both show botanical illustration detail beautifully. Glossy paper can work, but it tends to create distracting reflections in rooms with natural light.
That's it. No specialist software, no colour profiles to fuss over for standard home printing, no waiting for a delivery from overseas.
Ready to put this into practice? Browse the full range of studio-designed Sempervivum pieces — each listing shows exact pixel dimensions so you can match the file to your wall before you download. Explore the botanical print collection and find the size that works for your space.